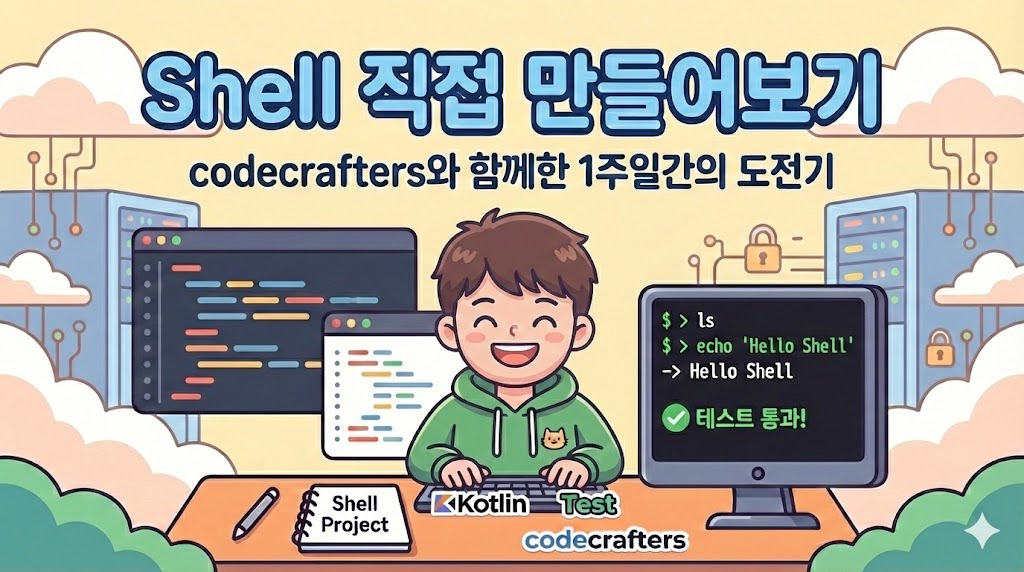
Creating Your Own Shell (feat. codecrafters)
Sharing my experience of developing a shell from scratch, honing fundamental skills as a developer, and learning various concepts.
Why Did I Start This?
I saw a post titled Programming Project Ideas: Learn by Developing Git, Docker, and Redis Yourself on GeekNews.
The introduction of the post as a high-level project guide for developers who have mastered the basics of languages and frameworks and are pondering the next step and the suggestion to uncover the 'inner workings' of systems we use daily were very appealing.
That’s how I discovered codercrafters.
codercrafters
This is a project that guides users through implementing elements we’ve used ourselves, step by step. If you’re a backend developer, you might be interested in creating:
- Kafka
- Redis
- Shell
- SQLite
codecrafters project list screen
There is a subscription plan (which seems a bit pricey even with the discount), but they offer one challenge per month.
codecrafters subscription pricing screen
You can undertake missions using various languages such as C, C#, Go, Kotlin, Java, Javascript, and Typescript.
codecrafters supported languages list
This month, the Shell implementation was available for free, so I decided to try it. Additionally, I wanted to learn Kotlin, so I proceeded with Kotlin.
How to Proceed
The process is simple:
codecrafters workflow guide
- Complete the given task.
- Then, commit the work –
git commit -am "[any message]" - Push the work –
git push origin master
The website then runs tests.
codecrafters website test execution screen
If the tests pass, you move on to the next step.
If testing every time with commit - push feels tedious, you can install the codecrafters CLI and input codecrafters test. If you pass the test, you can also submit it with codecrafters submit.
Thoughts on Implementation
I was quite satisfied with this service. It felt refreshing to write code directly as a developer and explore a new domain.
Fundamentals
I thought, “Implementing a shell shouldn’t be too difficult,” but I was completely wrong.
Because I had to implement each step, my code structure would break whenever I tried to implement the next step. I constantly pondered “how much should I refactor” & “how should it extend for the next step.”
Unlike a pre-built project,
- I had to lead and build the structure from scratch
- Continuously adapt the code to meet requirements
- Comply with existing requirements
To do this, I had to think about object-oriented principles and clean code. (It felt like doing a Wetrak mission after a long time) Additionally, attempting to improve code without the help of LLMs made my brain feel rusty, resulting in a bit of self-deprecation.
There was a problem with the code, but …
Learning BFS Through Keywords Emerging During Implementation
- File API
- ProcessBuilder
- InputStream, OutputStream
While working at the company, I only used these elements as needed for issues. But here, I delved into the concepts of elements like these.
Especially since our team needed node processes for image processing, we used ProcessBuilder. However, as it was already set up, I never paid much attention.
Using ProcessBuilder in the Shell implementation, I thoroughly learned about its usage, flow, and internal design.
- Why
Runtime.execled toProcessBuilder - What Zero-Copy is, and what Native Memory is
- What InputStream, OutputStream, and Redirection are
- Why a deadlock can occur if InputStream is not cleared
I explored topics like these in a BFS-like manner, following the chain of related concepts. I especially got to think again about the differences between byte arrays and streams.
Although our code uses byte arrays directly, I saw the potential to improve heap memory and native memory using streams.
Of course, this would entail a major code overhaul…
ProcessBuilder and Stream learning notes
The Importance of Testing
As the steps were one after another, I had to ensure everything worked up to the previous step.
While fixing the current step, occasionally, changes affected other steps. For example, adding a Shell Command could alter how Built-In Commands were handled.
Thus, I wrote integrated test code.
1
2
3
4
5
6
7
8
9
private fun execute(command: String, pathList: List<String> = emptyList()): String {
    val input = ByteArrayInputStream(command.toByteArray())
    val output = ByteArrayOutputStream()

    val app = ShellApplication(input, output, pathList)
    app.start()

    return output.toString()
}
1
2
3
4
5
6
7
8
9
10
11
12
13
14
/**
 * Ensure the command always ends with exit as it only exits upon receiving "exit"
 */
private fun buildCommand(builder: StringBuilder.() -> Unit): String {
    return StringBuilder().apply {
        builder()
        append("exit")
        append(System.lineSeparator())
    }.toString()
}

val command = buildCommand {
    appendLine("type not-exist-command")
}
- Set it up so the InputStream and OutputStream are injected externally from the application to verify within the test
- Ensure it always exits at the end
1
2
3
4
5
6
7
8
9
@Test
fun `type {command} outputs command not found if not found`() {
    val command = buildCommand {
        appendLine("type not-exist-command")
    }

    val result = execute(command, pathList = pathList)
    assertTrue { result.contains("not-exist-command: not found") }
}
After that, I validated results through input-output.
Eventually, I wrote tests for every step.
List of 29 integration tests written
I wrote 29 tests.
Then,
Test code for detailed logic of each object
I also wrote tests for each object to verify specific logic. With this, I was able to:
- Reduce anxiety when modifying code
- Document what I’ve implemented
- Reconsider code complexity while writing tests
Rather than SpringBootTest or Mock, I achieved the above effects by testing with actual functioning code. I got to re-experience the ultimate benefits of testing, which I had forgotten at the company for a while.
Conclusion
Imagining and implementing the functions provided in terminals gave me the opportunity to delve deeper into the concepts I usually overlooked.
In particular, thinking about how to flexibly structure the code in an environment where requirements gradually increase seems helpful in real-world work too.
My code can be found at youngsu5582/shell-implement-challenge. I recommend giving it a try.
I did not complete all the steps.
- Basic Stages
- Navigation
- Quoting
- Redirection
- Pipeliens
Completed Shell implementation stages (Basic Stages, Navigation, Quoting, Redirection, Pipeliens)
I completed these.
Autocompletion, History, History Persistence required using a library called Jline, so I did not do them. (Functionality like providing arrow key functions and auto-complete with the Tab input is not generally achievable through typical programming).
I am currently in progress with Quoting, as there’s a persistent failure in command processing at the very end.